Category: Software Development
Tags:python, 3d graphics, software renderer, pygame, computer graphics, matrix math, backface culling, depth sorting, real-time rendering,
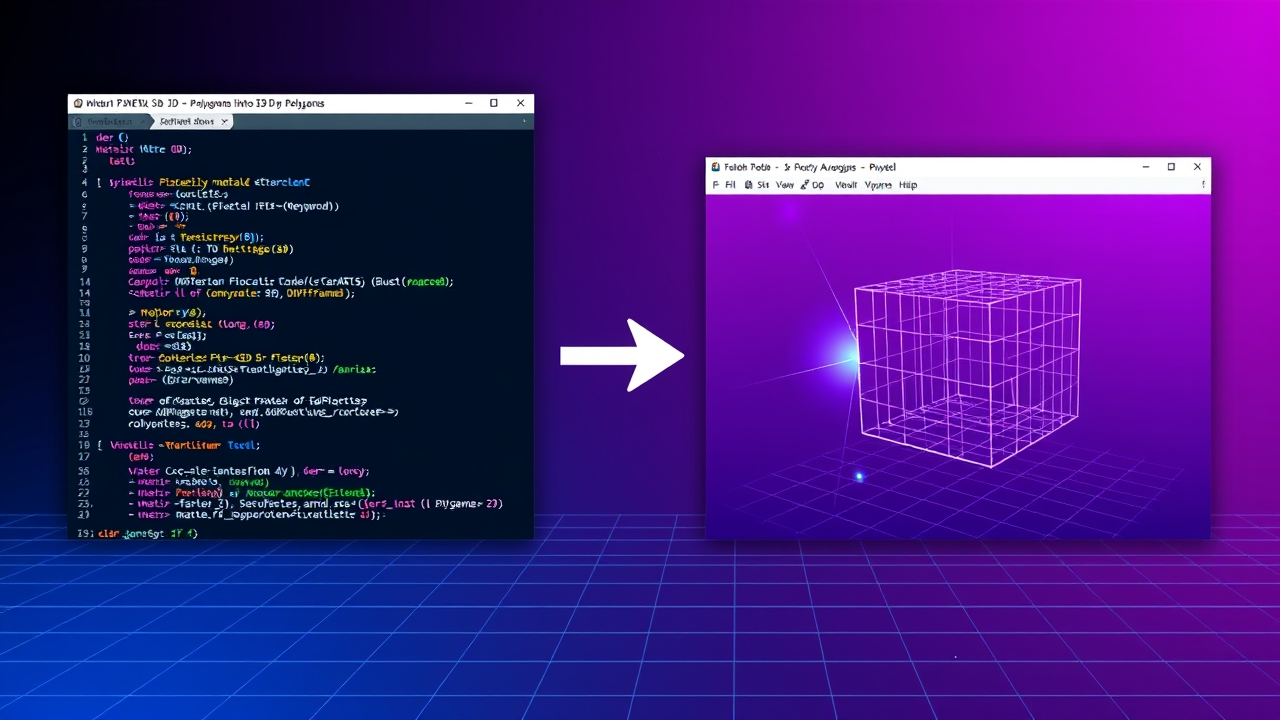
Building a software renderer from scratch is a rewarding challenge that deepens your understanding of how modern graphics pipelines function. Unlike hardware-accelerated rendering, a software renderer relies entirely on CPU-based calculations and pixel manipulation, making it an excellent learning tool for aspiring graphics programmers. In this comprehensive guide, we’ll walk through the entire process of creating a 3D renderer in Python using Pygame, a popular library for game development and multimedia applications. By the end, you’ll have a functional renderer capable of rendering 3D objects in real-time, complete with transformations, lighting, and depth handling.
Why Build a Software Renderer in Python?
Python is an accessible language with a rich ecosystem of libraries, making it ideal for prototyping and learning complex systems like 3D renderers. While Python isn’t known for high-performance computing, its simplicity allows you to focus on the core concepts without getting bogged down by low-level details. Pygame, in particular, provides the tools needed for window management, event handling, and pixel manipulation, which are essential for rendering graphics. Additionally, building a renderer from scratch gives you full control over every aspect of the pipeline, from vertex transformations to rasterization, enabling you to experiment and optimize as you see fit.
#ComputerGraphics #Python #GraphicsProgramming #SoftwareEngineering #GameDevelopment
Setting Up Your Development Environment
Before diving into the code, you’ll need to set up your Python environment. Start by installing Python (preferably version 3.8 or later) and Pygame. You can install Pygame using pip with the command `pip install pygame`. Once installed, create a new Python file (e.g., `software_renderer.py`) and import the necessary libraries. For this project, you’ll also need NumPy for matrix operations and vector calculations, so install it with `pip install numpy`. These libraries will simplify complex mathematical operations and allow you to focus on the rendering logic.
Understanding the Graphics Pipeline
A graphics pipeline is a sequence of steps that transforms 3D models into 2D images on your screen. The pipeline typically involves several stages: model transformation, view transformation, projection, clipping, and rasterization. In a software renderer, each of these stages is implemented manually. Model transformation adjusts the position, scale, and rotation of objects in 3D space. The view transformation aligns the scene with the camera’s perspective. Projection converts 3D coordinates into 2D screen space, while clipping removes geometry outside the view frustum. Finally, rasterization converts the remaining geometry into pixels.
Coordinate Spaces and Transformations
Understanding coordinate spaces is crucial for building a renderer. A 3D scene typically uses three main coordinate spaces: model space, world space, and screen space. Model space represents vertices relative to the object’s origin. World space places the object in the global 3D scene. Screen space converts world coordinates into 2D pixel coordinates on the screen. Transformations between these spaces are performed using matrices. For example, a model-to-world transformation matrix scales, rotates, and translates the model into its position in the scene. Similarly, a view matrix aligns the scene with the camera’s viewpoint.
- Model-to-world transformation: Adjusts the object’s position, rotation, and scale in the scene.
- View transformation: Aligns the scene with the camera’s perspective using a view matrix.
- Projection transformation: Converts 3D coordinates into 2D screen space using a projection matrix.
- Viewport transformation: Maps the normalized device coordinates to screen pixels.
Implementing Matrix Math with NumPy
Matrix math is the backbone of 3D graphics, enabling transformations like translation, rotation, and scaling. NumPy simplifies these operations by providing optimized functions for matrix multiplication and vector operations. For instance, to translate an object, you multiply its vertices by a translation matrix. To rotate an object, you multiply its vertices by a rotation matrix. Combining these matrices allows you to create complex transformations. Additionally, NumPy’s linear algebra capabilities make it easy to compute the view and projection matrices needed for the graphics pipeline.
Rendering 3D Objects with Triangles
Most 3D models are composed of triangles, which are the simplest polygons that can define a surface. To render a 3D object, you first define its vertices and connect them to form triangles. Each triangle is then transformed from model space to screen space using the pipeline stages. In software rendering, this involves iterating over each triangle, applying the necessary transformations, and converting the resulting vertices into pixel coordinates. The next step is rasterization, where you determine which pixels are covered by the triangle and color them accordingly.
Backface Culling: Optimizing Performance
Backface culling is an optimization technique that skips rendering triangles facing away from the camera. This reduces the number of triangles processed, significantly improving performance. To implement backface culling, calculate the normal vector of each triangle and compare it to the camera’s view direction. If the normal points away from the camera (i.e., the dot product of the normal and view direction is negative), the triangle is culled. This technique is especially effective in scenes with many complex objects, as it eliminates unnecessary calculations.
Depth Sorting and the Painter’s Algorithm
When rendering multiple objects, you need to ensure that closer objects obscure farther ones. Depth sorting arranges triangles from back to front, allowing the painter’s algorithm to render them in the correct order. The painter’s algorithm draws triangles from the farthest to the nearest, ensuring that closer objects overwrite the pixels of farther ones. While simple, this approach can be inefficient for scenes with overlapping objects. For better performance, consider using a z-buffer, which stores depth information for each pixel and allows for more accurate depth testing.
Rasterization: Converting Triangles to Pixels
Rasterization is the process of converting transformed triangles into pixels on the screen. This involves determining which pixels lie inside a triangle and interpolating attributes like color or texture coordinates. A common method for rasterization is the scanline algorithm, which iterates over each row of pixels and calculates the edges of the triangle. For each pixel, you check if it lies within the triangle’s boundaries and, if so, interpolate its attributes. This step is computationally intensive, so optimizations like edge walking can improve performance.
Adding Color and Lighting
To make your renderer more realistic, you can add color and lighting. Start by assigning colors to vertices or textures to the triangles. For lighting, implement a simple diffuse lighting model using the dot product between the normal vector and the light direction. More advanced techniques like specular highlights or ambient lighting can be added later. Lighting calculations are performed per vertex or per pixel, depending on the complexity you want to achieve. Remember to normalize vectors and handle edge cases like zero-length normals.
Performance Optimizations for Real-Time Rendering
Real-time rendering requires careful optimization to achieve smooth performance. Start by profiling your code to identify bottlenecks, such as expensive matrix multiplications or inefficient rasterization loops. Optimizations like precomputing matrices, using lookup tables for trigonometric functions, or implementing level-of-detail (LOD) systems can significantly improve performance. Additionally, consider parallelizing parts of the pipeline using Python’s multiprocessing or threading libraries. However, be mindful of Python’s Global Interpreter Lock (GIL) when using threading, as it may limit performance gains.
Debugging Your Software Renderer
Debugging a software renderer can be challenging due to the complexity of the pipeline. Start by verifying each stage of the pipeline individually. For example, check if your model-to-world transformation correctly positions the object in the scene. Use print statements or a debugger to inspect intermediate values like transformed vertices or matrices. Visual debugging tools, like rendering outlines or wireframes, can help you identify issues with clipping or rasterization. Additionally, implement a simple logging system to track errors and performance metrics.
Extending Your Renderer: Next Steps
Once you have a basic renderer working, consider extending its capabilities. Add support for textures by implementing texture mapping, where each pixel’s color is determined by a texture image. Introduce transparency by sorting transparent objects and blending their colors with the background. Implement more advanced lighting models like Phong shading or shadow mapping. You can also experiment with shaders to create custom effects. The possibilities are endless, and each addition will deepen your understanding of 3D graphics.
Final Thoughts and Resources
Building a software renderer from scratch is a challenging but incredibly rewarding project. It provides a deep understanding of the inner workings of 3D graphics and equips you with the skills to optimize and extend rendering pipelines. While Python may not be the fastest language for real-time rendering, it is an excellent choice for learning and prototyping. As you continue your journey, explore resources like “3D Math Primer for Graphics and Game Development” by Fletcher Dunn, or “Computer Graphics: Principles and Practice” by John F. Hughes. These books will guide you through more advanced topics and techniques. Happy rendering!