Category: IoT & Automation
Tags:Raspberry Pi, AI Monitoring, Claude Code, Real-Time Status, IoT Integration, Hardware Automation, Python Automation, AI Workflow, Tech DIY, Embedded Systems,
Why Monitor Your AI Coding Assistant in Real-Time?
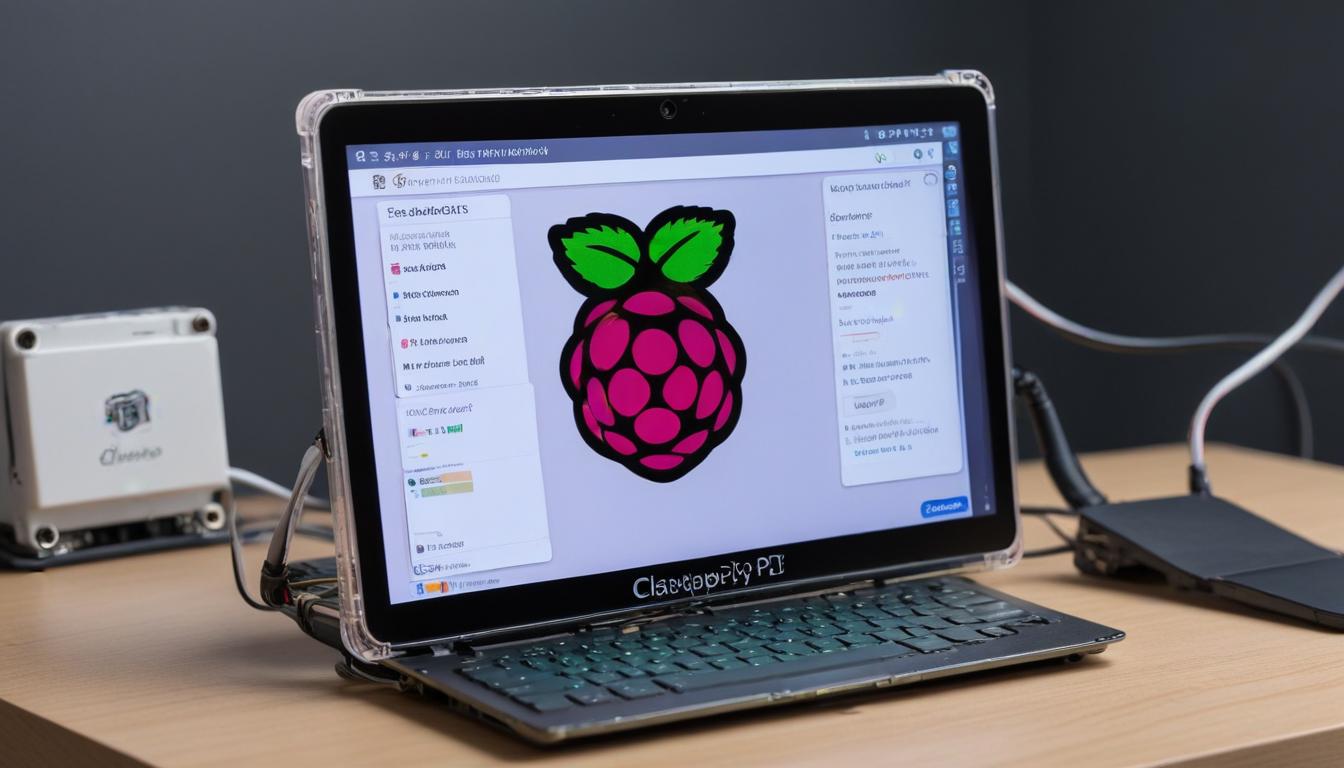
In the fast-paced world of AI-driven development, staying updated on your coding assistant’s performance is crucial. Whether you’re running long scripts, debugging complex algorithms, or waiting for an AI to generate code snippets, delays or errors can disrupt your workflow. A real-time status monitor bridges the gap between hardware and software, providing instant feedback on your AI’s activity. This not only saves time but also ensures you’re always aware of your system’s health and performance. By integrating a Raspberry Pi into this setup, you create a lightweight, cost-effective, and highly customizable monitoring solution that fits seamlessly into your existing workflow.
#RaspberryPi #ArtificialIntelligence #EdgeComputing #IoT #AIAgents #Softved
What You’ll Need: Hardware and Software Essentials
- Raspberry Pi (Model 3B+, 4, or 5 recommended for optimal performance)
- MicroSD Card (16GB or larger, Class 10 or UHS-I for speed)
- Power Supply (5V/3A USB-C for Raspberry Pi 4/5, 5V/2.5A micro-USB for older models)
- HDMI Cable and Monitor (for initial setup, optional for headless operation)
- USB Keyboard and Mouse (for setup, optional if using SSH)
- Ethernet Cable or Wi-Fi Adapter (for internet connectivity)
- 16×2 or 20×4 LCD/OLED Display (optional for physical status output)
- Breadboard and Jumper Wires (for prototyping connections)
- Python 3.x (pre-installed on Raspberry Pi OS)
- Claude Code API Access (or other AI coding assistant with API support)
- Git (for cloning repositories and managing updates)
- VS Code or any preferred IDE (for development and testing)
Step 1: Setting Up Your Raspberry Pi for Monitoring
Begin by installing the latest version of Raspberry Pi OS (preferably the Lite version for headless operation) on your microSD card using the Raspberry Pi Imager tool. Insert the card into your Pi, connect it to power, and follow the on-screen setup instructions. For headless operation, enable SSH and Wi-Fi by creating an empty file named `ssh` and a `wpa_supplicant.conf` file in the boot partition with your Wi-Fi credentials. Once booted, update your system with `sudo apt update && sudo apt upgrade -y` to ensure all packages are current. Install essential dependencies like Python, Git, and pip using `sudo apt install python3 python3-pip git -y`. This foundation ensures your Pi is ready for the next steps.
Step 2: Installing and Configuring Python for AI Monitoring
With your Pi set up, install the required Python libraries to interact with the Claude Code API and handle real-time data. Start by installing the `requests` library for API calls, `python-dotenv` for managing environment variables, and `RPi.GPIO` if you plan to use GPIO pins for an LED or display. Use the following commands: `pip3 install requests python-dotenv RPi.GPIO`. Create a new directory for your project and set up a virtual environment with `python3 -m venv venv` and activate it with `source venv/bin/activate`. This keeps your dependencies isolated and manageable. Next, create a `.env` file to store your API key securely. For example: `CLAUDE_API_KEY=your_api_key_here`. Never commit this file to version control.
Step 3: Fetching Real-Time Status from Claude Code
To monitor your AI assistant, you’ll need to interact with its API. Start by reviewing the API documentation for Claude Code to understand the available endpoints for fetching status updates. Typically, you’ll need to send an authenticated request to an endpoint like `/status` or `/health` to retrieve real-time data. Use the `requests` library to make a GET request to the endpoint, passing your API key in the headers. For example: `import requests` `import os` `from dotenv import load_dotenv` `load_dotenv()` `api_key = os.getenv(‘CLAUDE_API_KEY’)` `headers = {‘Authorization’: f’Bearer {api_key}’}` `response = requests.get(‘https://api.claude.com/status’, headers=headers)` `status_data = response.json()` This script fetches the current status of your AI assistant, which you can then parse and display.
Step 4: Displaying Status Updates on an LCD or OLED Screen
For a physical status display, connect an LCD (like a 16×2 character display) or an OLED screen to your Raspberry Pi using I2C or SPI. Wire the display to the appropriate GPIO pins, then install the necessary libraries. For an I2C LCD, use `sudo apt install python3-smbus i2c-tools` and enable I2C in the Raspberry Pi configuration (`sudo raspi-config`). Install the `Adafruit_CharLCD` or `luma.oled` library for Python, depending on your display type. Write a Python script to parse the status data from the API and display it on the screen. For example, you can show the AI’s current task, completion percentage, or any error messages directly on the hardware.
Step 5: Visualizing Data with a Web Dashboard
While a physical display is useful, a web dashboard offers more flexibility for monitoring. Use Flask or FastAPI to create a lightweight web server that fetches status data from the API and displays it in a user-friendly interface. Start by installing Flask with `pip3 install flask`. Create a basic Flask app with a single route that fetches and renders the status data. For example: `from flask import Flask, render_template` `import requests` `import os` `app = Flask(__name__)` `@app.route(‘/’)` `def dashboard():` ` api_key = os.getenv(‘CLAUDE_API_KEY’)` ` headers = {‘Authorization’: f’Bearer {api_key}’}` ` response = requests.get(‘https://api.claude.com/status’, headers=headers)` ` status_data = response.json()` ` return render_template(‘dashboard.html’, status=status_data)` `if __name__ == ‘__main__’:` ` app.run(host=’0.0.0.0′, port=5000)` This app runs on port 5000 and can be accessed from any device on your local network. Customize the HTML template to display the data in a visually appealing way.
Step 6: Automating the Monitoring Process with Cron Jobs
To ensure your status monitor runs continuously, set up a cron job to execute your Python script at regular intervals. Use `crontab -e` to edit the cron table, then add a line like this to run the script every 5 minutes: `*/5 * * * * /home/pi/venv/bin/python /home/pi/claude_monitor/main.py >> /home/pi/claude_monitor/logs/monitor.log 2>&1`. This command runs your monitoring script every 5 minutes and logs the output to a file for later review. For more frequent updates, adjust the interval to suit your needs. You can also use systemd to create a service that runs your script in the background.
Step 7: Enhancing Security and Performance
Security is critical when dealing with API keys and sensitive data. Always store your API key in environment variables and restrict file permissions. Use HTTPS for all API requests to encrypt data in transit. For performance, optimize your Python scripts by caching API responses and minimizing unnecessary requests. If you’re using a physical display, consider adding a power-saving mode to turn off the screen when idle. For the web dashboard, implement rate limiting to prevent abuse and ensure smooth operation. Regularly update your Raspberry Pi and dependencies to patch security vulnerabilities and improve performance.
Troubleshooting Common Issues
- **API Connection Failures:** Verify your API key is correct and the endpoint URL is accurate. Check your internet connection and ensure the Raspberry Pi can reach the API server.
- **Display Not Working:** Double-check your wiring and ensure the correct I2C or SPI address is used. Test the display with a simple Python script to confirm functionality.
- **Script Crashes:** Review the error logs for detailed messages. Common issues include missing dependencies, incorrect file paths, or API rate limits.
- **High CPU Usage:** Optimize your scripts by reducing polling frequency or using multithreading. Monitor resource usage with `htop` to identify bottlenecks.
- **Dashboard Not Loading:** Ensure Flask is running and the port is open. Check firewall settings on your Pi and network router.
Future Enhancements: Taking Your Monitor to the Next Level
Once your basic monitoring system is up and running, explore advanced features to enhance its capabilities. Add email or SMS notifications for critical updates using services like Twilio or SendGrid. Integrate with home automation platforms like Home Assistant or Node-RED to trigger actions based on AI status changes. For example, turn on an LED or send a Pushover notification when the AI completes a task. You can also expand the dashboard with charts using libraries like Plotly or Matplotlib to visualize historical data. For IoT enthusiasts, connect your monitor to a cloud service like AWS IoT or Google Cloud IoT for remote access and analytics.
Conclusion: Empowering Your Workflow with Hardware-AI Symbiosis
By transforming your Raspberry Pi into a real-time status monitor for AI coding assistants, you create a powerful synergy between hardware and software. This setup not only keeps you informed about your AI’s performance but also enhances your overall workflow efficiency. Whether you’re a developer, researcher, or tech enthusiast, this project offers a practical and rewarding way to integrate IoT and AI technologies. Follow this guide to build your monitor, customize it to your needs, and take your productivity to new heights. The possibilities are endless, and the skills you gain will be invaluable in your tech journey.